Building a PC Without Bleeding
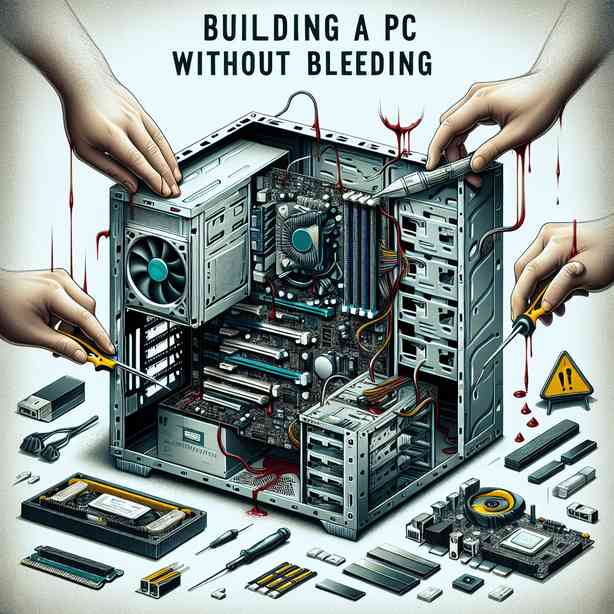
Building your own PC can be both an exciting and daunting experience. This guide aims to walk you through the process of assembling a computer step-by-step, ensuring you understand each component’s role, how to handle them safely, and how to avoid the common pitfalls that can lead to frustration or damage.
To begin with, let’s discuss the essential components you’ll need for your new build. The core parts typically include a central processing unit (CPU), a motherboard, random access memory (RAM), storage drives (both HDD and SSD), a graphics processing unit (GPU), a power supply unit (PSU), a computer case, and cooling solutions. These components come together to form a fully functional PC, but understanding how they interact will help you make informed choices.
Firstly, the CPU is often referred to as the brain of your computer. It’s responsible for executing instructions and processing information. When selecting a CPU, consider the performance you require—whether for gaming, content creation, or general use. Popular brands like Intel and AMD offer a variety of processors, so understanding their specifications can be valuable for your needs.
Next up is the motherboard, which acts as the backbone of your PC. It connects all other components and facilitates communication between them. When choosing a motherboard, you’ll need to ensure it is compatible with your CPU and that it provides enough slots for your RAM and expansion cards. Pay attention to the form factor as well, as it needs to fit within your chosen case.
RAM is crucial for multitasking and overall system performance. When building a PC, selecting the right amount and speed of RAM is essential. Most users find that 16GB is a good starting point, but if you’re into heavy multitasking or specific applications, you might want to consider 32GB or more.
Storage drives come in two main types: HDDs and SSDs. HDDs are typically larger and more cost-effective for bulk storage, while SSDs offer faster read and write speeds, which can significantly improve boot times and application loading. Many users choose to have a combination of both, utilizing an SSD as the primary drive for the operating system and important programs while using an HDD for additional storage.
The GPU is another vital component, especially for gamers or those doing graphic-intensive tasks. A dedicated graphics card can significantly enhance your system’s visual performance. When selecting a GPU, take into account its specifications, as they can greatly impact gaming quality and performance in creative applications.
A reliable power supply unit (PSU) is essential for protecting your components while providing sufficient power. Look for a power supply with a rating of at least 80 Plus Bronze or higher for efficiency. Additionally, make sure it has the appropriate wattage to support all your components, with some overhead for future upgrades or additional components.
Now that we’ve covered the core components, let’s talk about the case. The computer case is where your entire build will live. It comes in various sizes (like ATX, Micro-ATX, and Mini-ITX), and choosing one that fits your hardware while allowing good airflow is key to keeping your system cool.
Cooling solutions should not be overlooked. Depending on your build, you might opt for air or liquid cooling systems. Air coolers are generally quieter and easier to install, while liquid cooling can provide better temperature management, especially in high-performance setups. Make sure that your choice is compatible with your CPU and case dimensions.
When building your PC, it’s critical to handle all components carefully. Avoid static electricity, as it can damage sensitive parts. Ground yourself by touching a metal object or using an anti-static wrist strap before you begin. When working inside your case, keep it organized, and make sure you’re working in a clean, well-lit environment.
The assembly process typically starts with the installation of the CPU onto the motherboard. Gently place the CPU in the socket, ensuring it aligns correctly with the markings, and secure it according to the manufacturer’s instructions. Next, apply thermal paste to the CPU—this layer helps to efficiently transfer heat between the CPU and the cooler.
With the CPU installed, it’s time to insert the RAM into the designated slots on the motherboard. Make sure the notches in the RAM align with those in the slots, and listen for the click sound that confirms they are securely in place.
Once your motherboard has been prepared, it’s ready to be installed into the case. Align it with the standoffs in your case and secure it with screws. After the motherboard is in place, you can start connecting components like the GPU and storage drives. For the GPU, identify the PCIe slot on the motherboard, insert the card, and secure it with screws as well.
Connecting the power supply is one of the final steps. Route the cables neatly to avoid clutter and connect them to each component. Take special care to connect the 24-pin ATX and CPU power connectors to ensure your motherboard receives power. Be mindful of the cable management, as this can influence your system’s airflow.
Once everything is connected, it’s time to power up your PC for the first time. Before plugging it into the wall, double-check all connections and ensure everything is seated correctly. When you power it up, you should see the motherboard’s logo on the screen. This means you’re ready to enter the BIOS and configure the settings to your preference.
After successful booting, it’s essential to install an operating system to make your PC functional. This process typically involves using a USB drive with the OS installation files. Follow the prompts to install, and soon, your system will be ready for use.
In conclusion, building a PC can be a rewarding experience that gives you a deep understanding of your system. Take your time, follow instructions carefully, and don’t hesitate to ask for help if needed. You’ll become more familiar with how each component works and how to maintain your PC effectively. As you enjoy your new build, remember that knowledge is power, and each assembly will give you insight for your future upgrades. Happy building!